The Parts
before we could assemble the train of course we had to actually create the actual individual parts. Some parts were fairly complicated such as the cowcatcher which involved lofting and offsets. another part that was somewhat was the wheel. it involved a lot of fillets and a circular pattern.
Also after creating the parts we had to create the drawing for each, including half sections and auxiliary views for the wheel and cowcatcher respectively. Every part involved many steps: threading, extruding, rounding, filleting. holing, and many other tools. The only part that involved minimal work was the hitch magnet, which was basically just extruding a ring.
|
|
Assembling
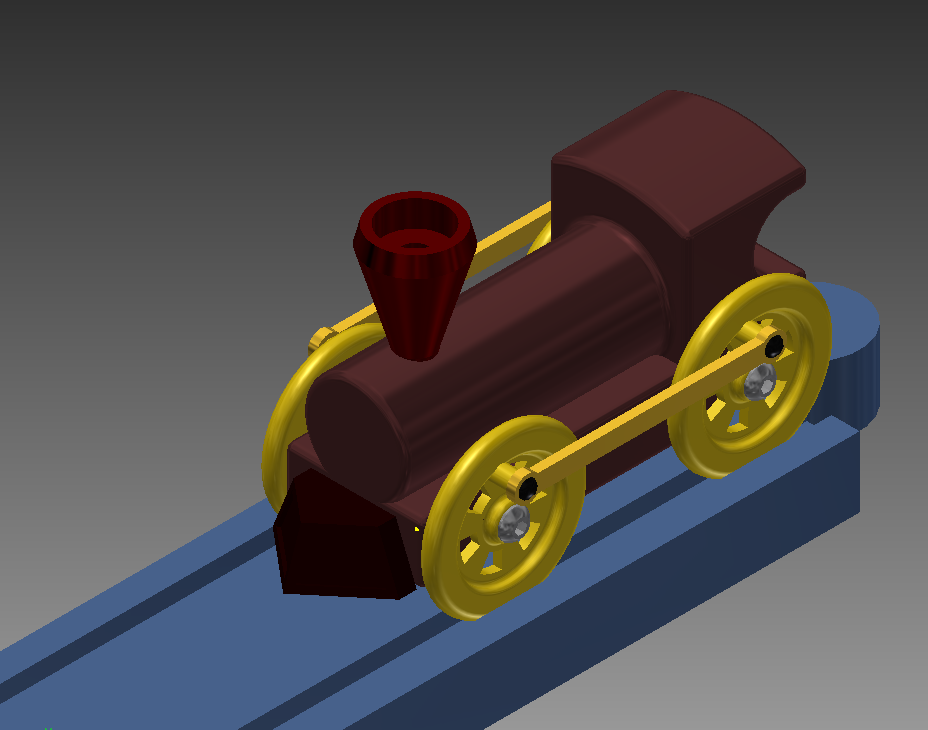
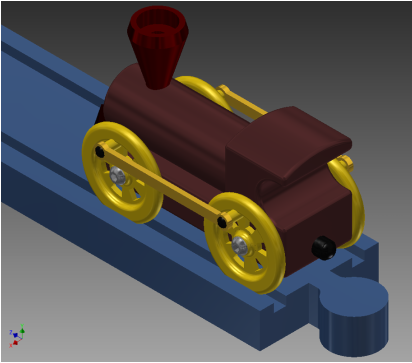
After creating each part it was time to put it all together in Inventor pro. This was pretty frustrating at times; sometimes the part would go in backwards when using an insert constraint. Eventually it all worked out though the train was finally constrained and assembled. Now we just have to make it move.
The Video
Using drive constraints and rotations, i was able to make the train travel down the track and made the wheels turn. I was able to edit the speed of the train and how fast the wheels could turn as well.
Using drive constraints and rotations, i was able to make the train travel down the track and made the wheels turn. I was able to edit the speed of the train and how fast the wheels could turn as well.
|
|
Presentation
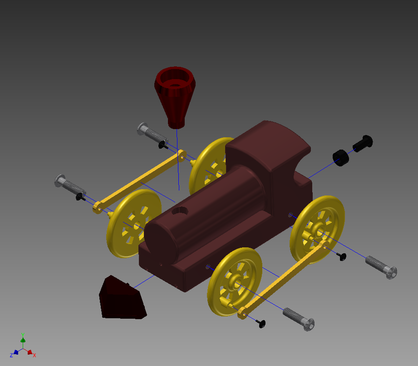
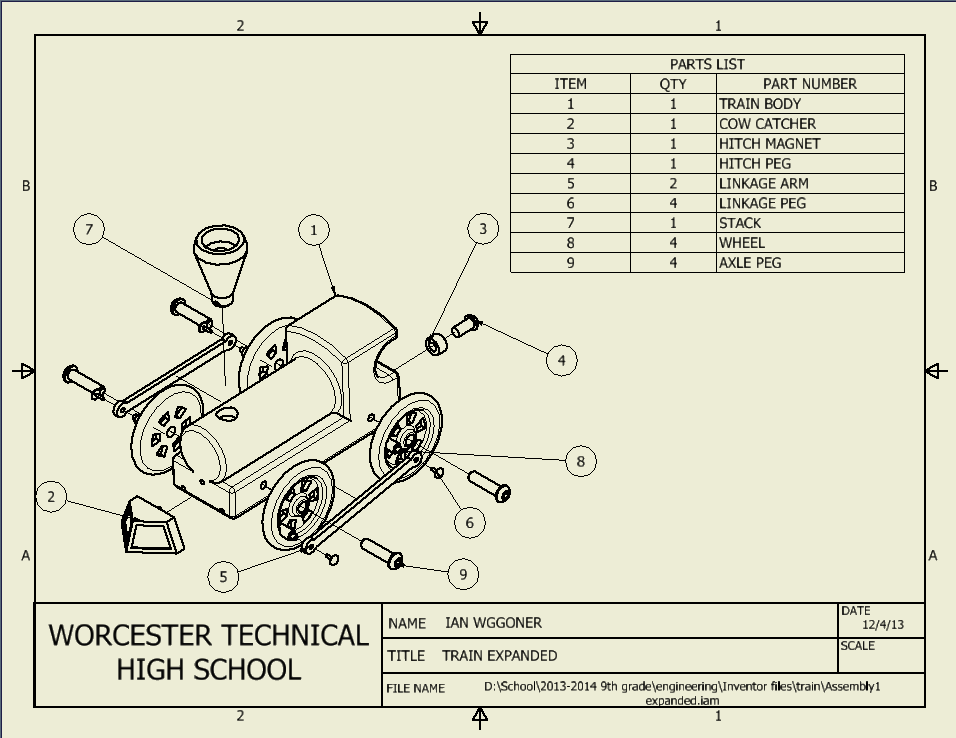
Then we made a presentation to show the train expanded. The second photo (above right) shows the expanded train labeled with each part in the parts list. And then we animated the train and voila!
Then we made a presentation to show the train expanded. The second photo (above right) shows the expanded train labeled with each part in the parts list. And then we animated the train and voila!
Reflection
This project was very extensive and involved a lot of new procedures and tools in Inventor Pro. The project helped us grow more accustomed to using Inventor pro and its various tools and features. The project was very fun and interactive, allowing us to slightly customize our trains.
